-
Welcome to Mr. Poliszuk's Webpage"Bridging the gap between technology and the real world."This site will primarily be used for 'Home Maintenance and Repair' scholars to access assignments, learning targets, and models to help them understand systems throughout a home and assist in preparation for homeownership, maintenance, and repairs.
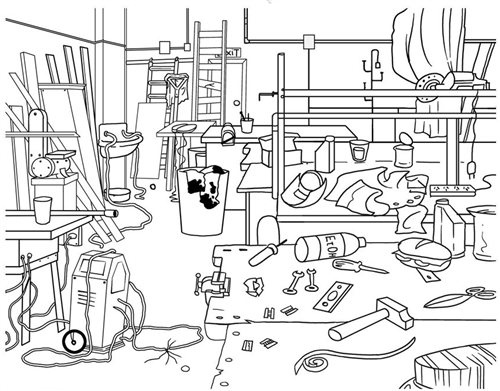
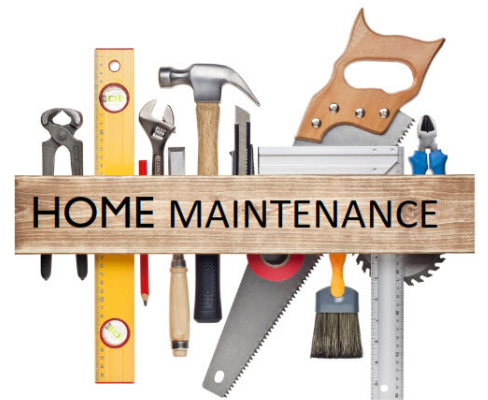 AssignmentsEach assignment will be assessed out of 10 points. There will be an average of 1-2 assignments per day throughout the school year.1. General Lab Safety Rules and Responsibility Posters (3)Learning Target: I can create and present several posters regarding general lab safety rules and responsibilities.
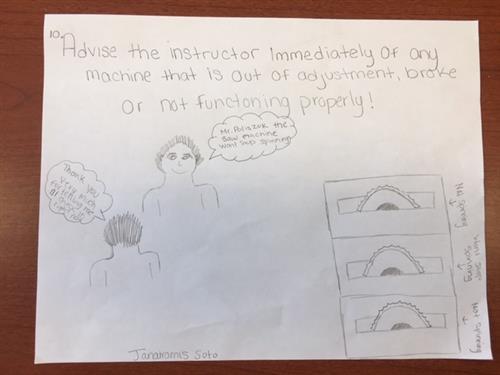 2. General Lab Safety QuizLearning Target: I can identify all general lab safety rules and responsibilities to 100% accuracy.
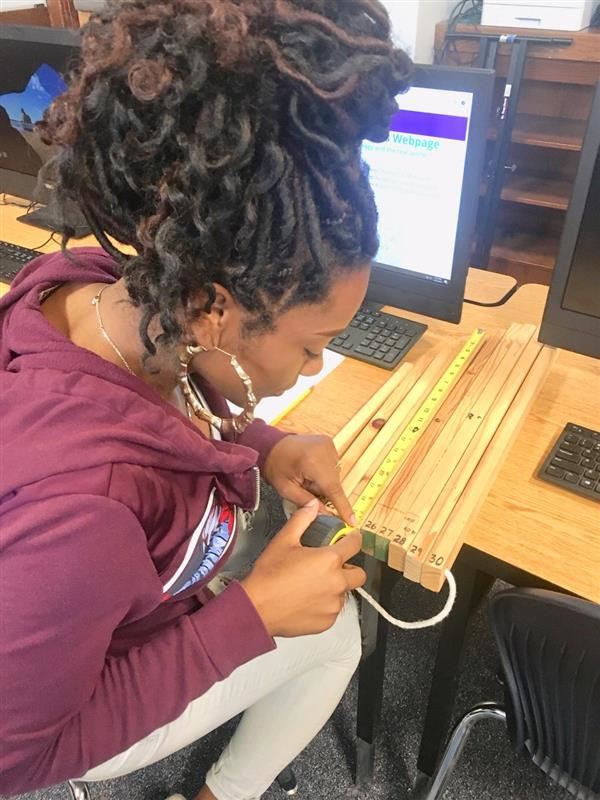
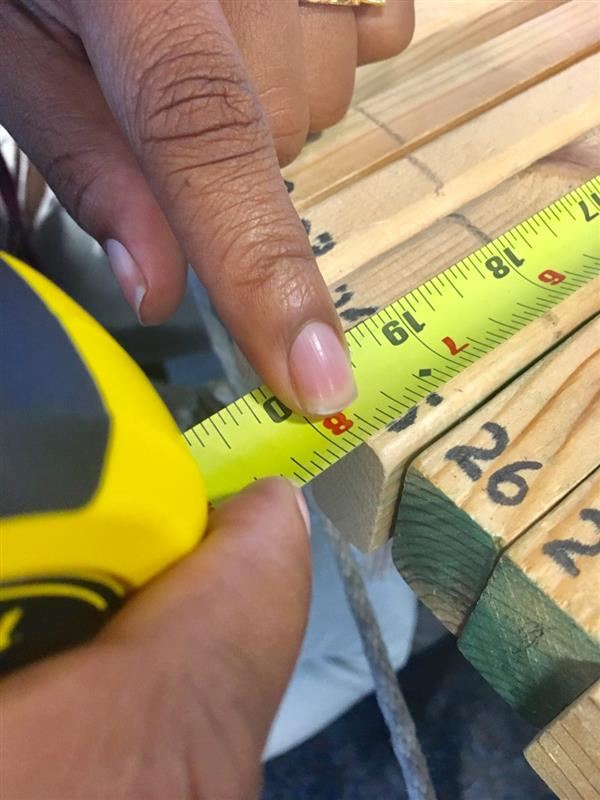
 3. Measuring to the nearest 1/2" and 1/4"4. Measuring to the nearest 1/8" and 1/16"4A. Measuring LabLearning Target: I can accurately measure 30 wooden samples to the nearest 1/16".
 5. Air Skimmer LayoutLearning Target: I can measure and layout an Air Skimmer, using a provided design with dimensions.
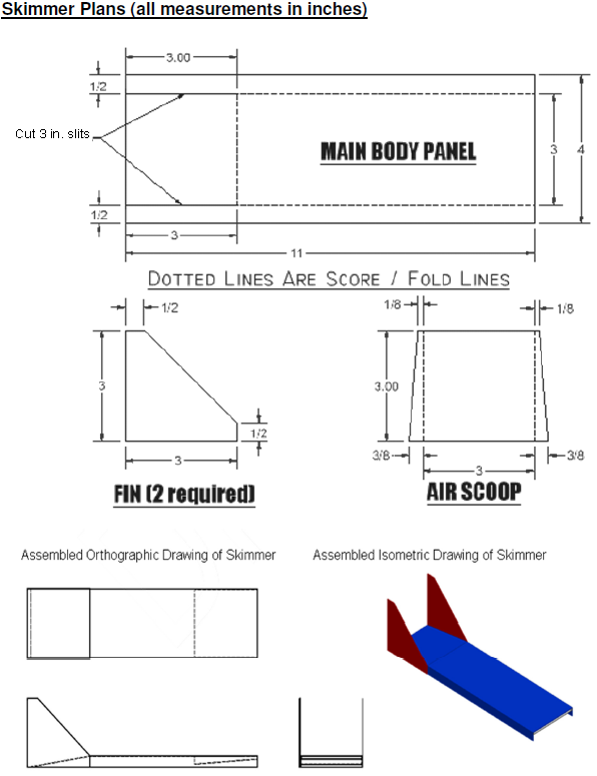
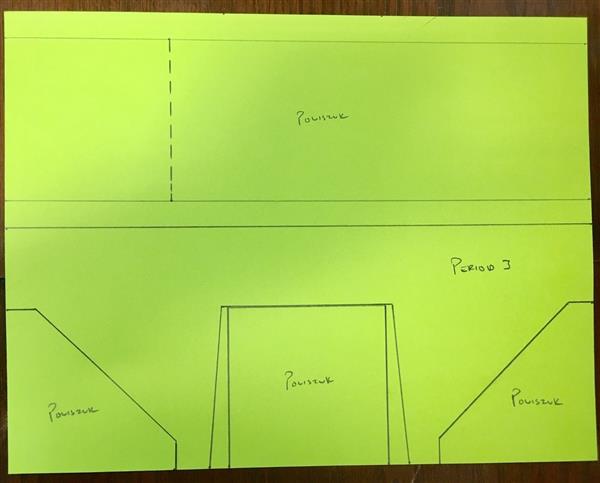 6. Air Skimmer BuildLearning Target: I can process and assemble an Air Skimmer, using a provided design with dimensions.
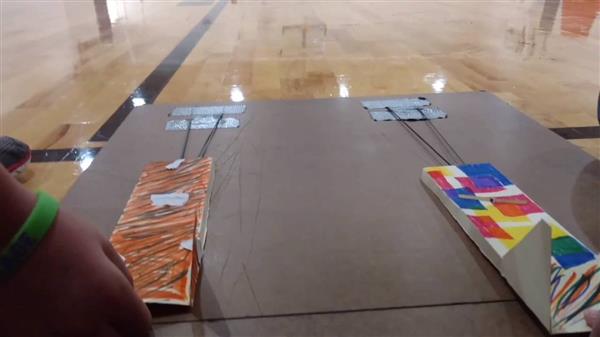
 7. Air Skimmer Testing, Modification, & ReflectionLearning Target: I can test and modify my Air Skimmer as needed, so that it travels the furthest distance possible.
 8. Machine Safety and Tests ILearning Target: I can identify all safety rules and expectations for the Bandsaw, Drill Press, Belt/Disk Sander, Electric Drill, and Spindle Sander, to 100% accuracy.

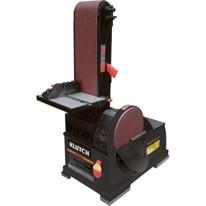
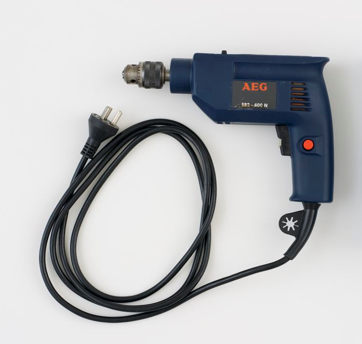
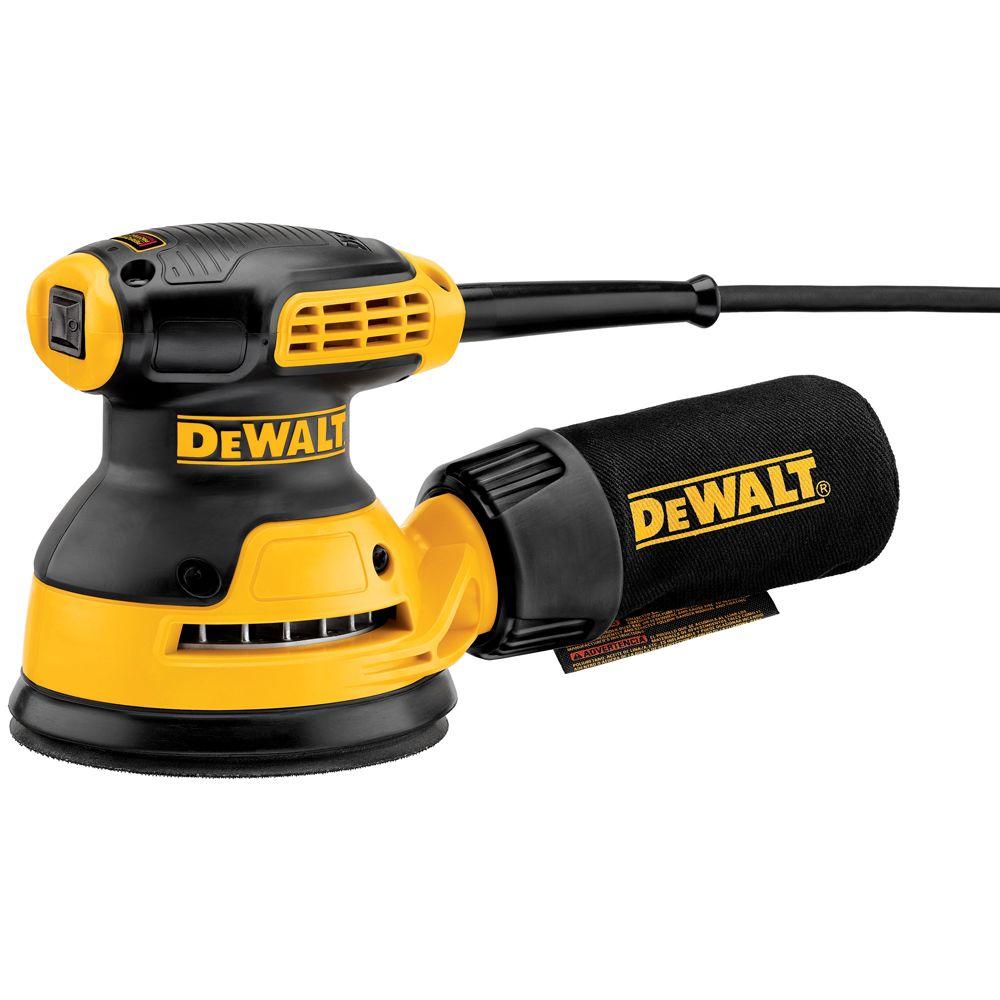
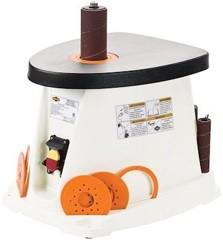 9. Machine Safety and Tests IILearning Target: I can identify all safety rules and expectations for the Palm Sander, Jigsaw, Router, Miter Saw, and Planer, to 100% accuracy.
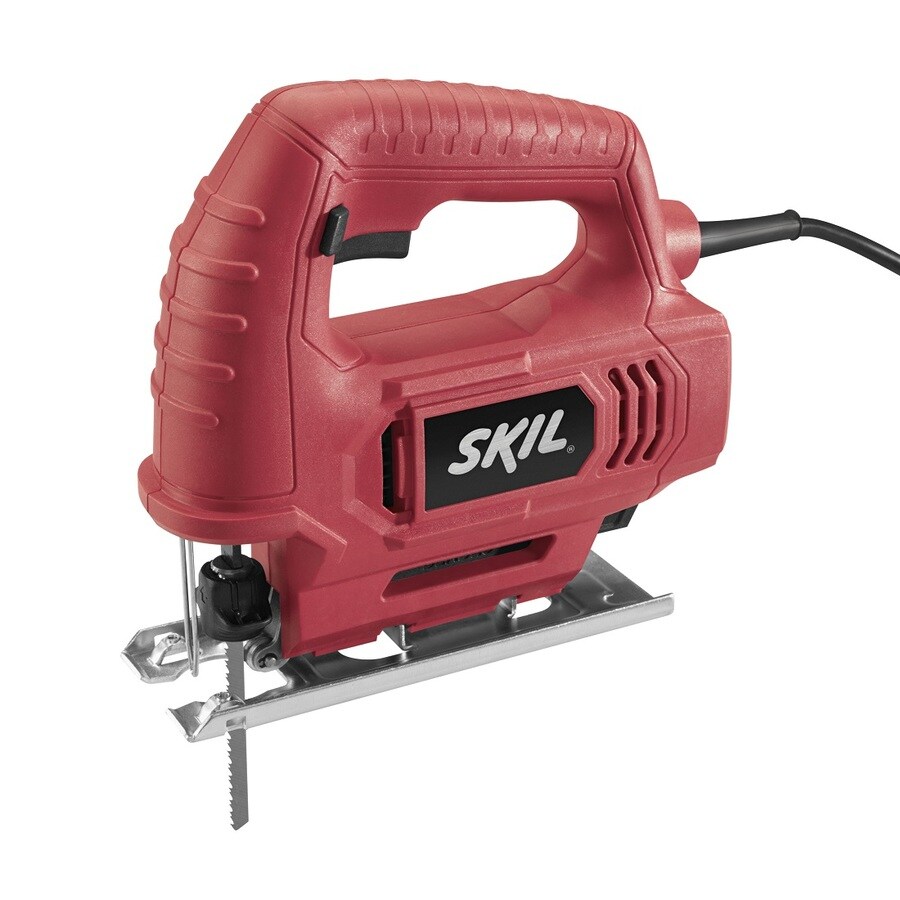

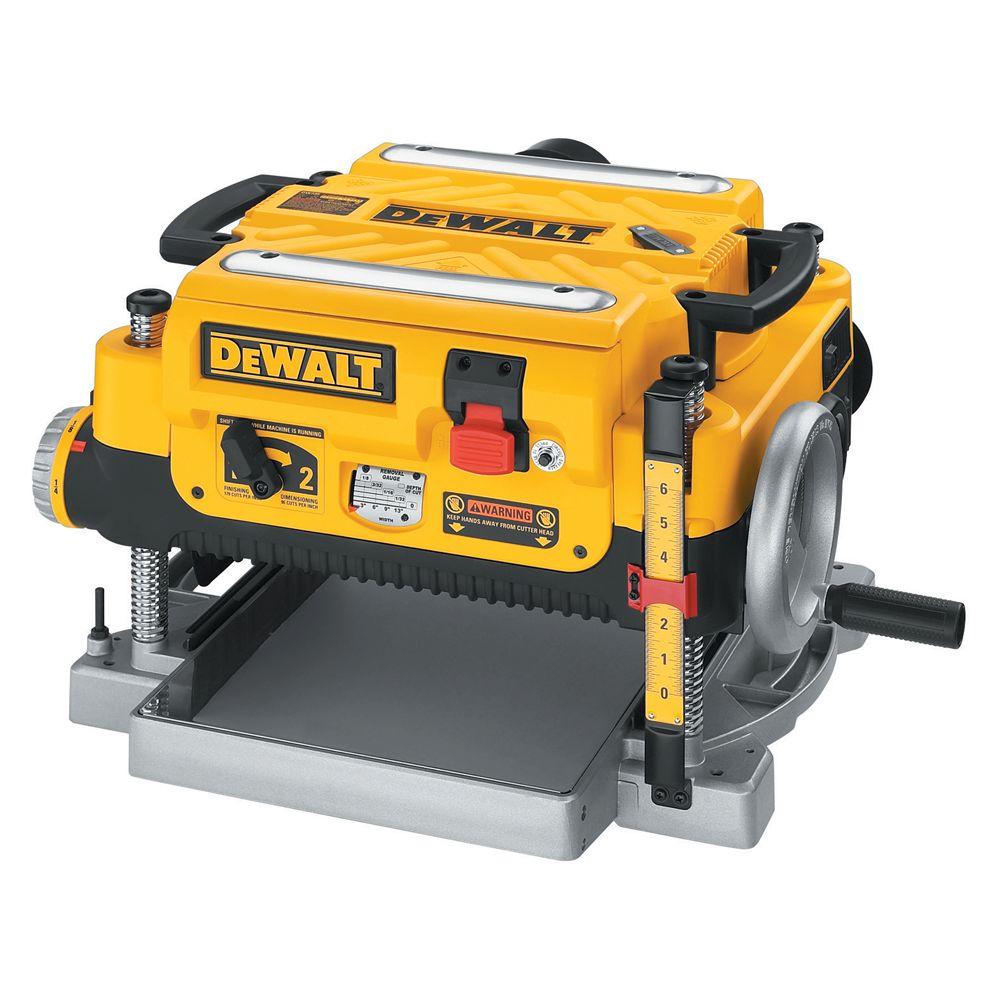 10. Table Saw Safety and TestLearning Target: I can identify all safety rules and expectations for the Table Saw, to 100% accuracy.
 11. Hand Tool IdentificationLearning Target: I can identify a large variety of hand tools by name and what they look like, and explain what each hand tool is used for.
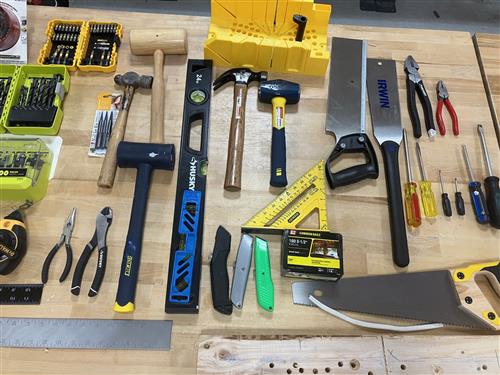 12. Charcuterie BoardLearning Target: I can process a charcuterie board, using a variety of hand tools, the miter saw, table router, orbital sander, power inflator, and mineral oil to provide a beautiful finish.
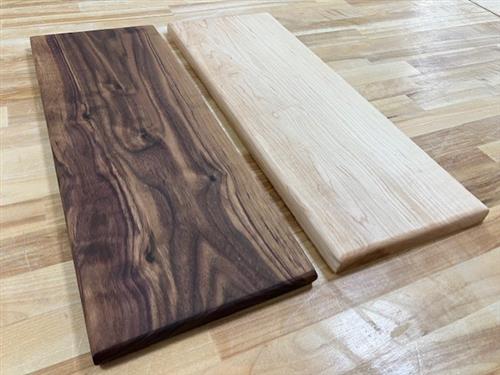 Steps:
- Choose your material: Maple or Walnut
- Using a tape measure and pencil, mark a point 18" from the board's edge
- Using a speed square, project a line through the point, perpendicular to the boards edges
- Using the miter saw, cut the board to length
- Using the table router and roundover bit, route all edges to round over the edges
- Using the orbital sander and 120 grit sand paper, sand the entire board - eliminate planer marks and hard edges
- Using the orbital sander and 220 grit sand paper, sand the entire board - sand all to a smooth finish
- Using the power inflator, blow off the saw dust
- Using a rag, mineral oil, and gloves, apply the mineral oil to entire board - place board on "sticks" to dry
- Using painter's tape and a pencil, label your board, on the cardboard, with your name and class period
13. Charcuterie Board with HandleLearning Target: I can process a charcuterie board with a handle, using a variety of hand tools, band saw, belt/disk sander, oscillating spindle sander, table router, drill press, orbital sander, power inflator, and mineral oil to provide a beautiful finish.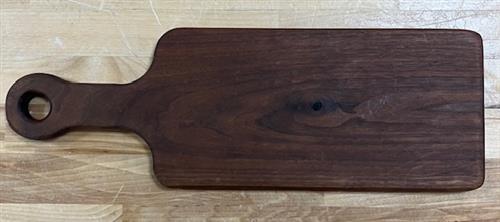 Steps:
- Locate your material from the wood supply: Maple or Walnut
- Using the template and a pencil, trace the template onto your board OR create your own design
- Using the band saw, cut out the handle **get close to your traced line, but do not cut past the line**
- Using the belt/disk sander, sand the straight edges and outside curved edges, up to your traced line
- Using the oscillating spindle sander, sand the inside curved edges, up to your traced line.
- Inspect your entire charcuterie board - be sure you have a smooth perimeter - cut/sand as necessary - this will ensure a "smooth ride" for the router bearing
- Using the drill press and a forstner bit, drill a hole in the center of your handle end
- Using the router table and roundover bit, route all edges
- Using the orbital sander and 120 grit sand paper, sand the entire charcuterie board - eliminate planer marks and hard edges
- Using the orbital sander and 220 grit sand paper, sand the entire charcuterie board - sand all to a smooth finish
- Using a 1/4 sheet of 220 grit sand paper, sand the interior hole to a smooth finish
- Using the power inflator, blow off the saw dust
- Using a rag, mineral oil, and gloves, apply the mineral oil to entire board - place board on "sticks" to dry
- Using painter's tape and a pencil, label your board, on the cardboard, with your name and class period
13A. Push StickLearning Target: I can process a push stick, using a variety of hand tools, band saw, belt/disk sander, oscillating spindle sander, table router, orbital sander, drill press, stain, and polyurethane for a beautiful finish.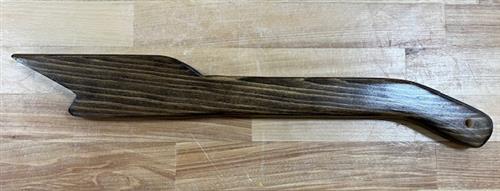 Steps:
- Locate your material from the wood supply: Pine
- Using the plastic push stick and a pencil, trace the push stick onto the pine board
- Using the band saw, cut out the push stick **get close to your traced line, but do not cut past the line**
- Using the belt/disk sander, sand the straight edges and outside curved edges, up to your traced line
- Using the oscillating spindle sander, sand the inside curved edges, up to your traced line.
- Inspect your push stick - be sure you have a smooth perimeter - cut/sand as necessary - this will ensure a "smooth ride" for the router bearing
- Using the router table and roundover bit, route all edges, except for the mouth of the push stick
- Using the orbital sander and 120 grit sand paper, sand the entire push stick - eliminate planer marks and hard edges
- Using the orbital sander and 220 grit sand paper, sand the entire push stick - sand all to a smooth finish
- Using a 1/4 sheet of 220 grit sand paper, sand the entire push stick to a smooth finish
- Using a rag, choice of stain, and gloves, apply the stain to entire push stick - place push stick on "sticks" to dry **2-3 coats**
- Using a brush, polyurethane, and gloves, apply the polyurethane to entire push stick - place on "sticks" to dry **2-3 coats**
- Using the drill press, drill a hole in the far end of the handle
14. Wall-Mounted Coat RackLearning Target: I can process and assemble a wall-mounted coat rack, using a variety of hand tools, table saw, miter saw, table router, orbital sander, standard power drill, impact drill, and stain for a beautiful finish.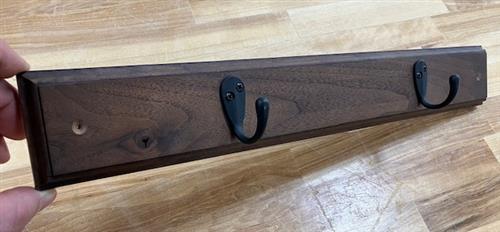 Steps:
- Choose your material: Maple or Walnut
- Using the table saw, rip the board to a width of 2-5/8"
- Using a tape measure and pencil, mark a point 18" from the board's edge
- Using a speed square, project a line through the point, perpendicular to the boards edges
- Using the miter saw, cut the board to 18" in length
- Using a speed square, measure and mark a point 1" away from the ends and 1-5/16" away from the edges
- Using a 1/16" diameter drill bit, drill a hole through each point marked
- Using a power drill and counter sink bit, counter sink each hole to fit the head of a small screw, on the front side of your coat rack only
- Using the table router and Roman Ogee bit, route the front side of your coat rack only
- Using the orbital sander and 120 grit sand paper, sand the entire board - eliminate planer marks and wood burrs
- Using the orbital sander and 220 grit sand paper, sand the entire board - sand all to a smooth finish
- Using a 1/4 sheet of 220 grit sand paper, sand areas in the profiled edge and eliminate wood burrs to a smooth finish
- Using the power inflator, blow off the saw dust
- Using a rag, wood finish, and gloves, apply the finish to entire board - place board on "sticks" to dry
- Using painter's tape and a pencil, label your board, on the cardboard, with your name and class period
- Choose your hooks from a variety of options
- Using a tape measure and pencil, place your hooks evenly balanced away from the ends and mark the pilot holes to be drilled
- Using a 1/16" diameter drill bit, drill a hole approximately 1/8" in depth at each point marked
- Using an impact driver and adequate pressure, fasten your hooks to your coat rack - do not over-tighten
15. Desk Lamp - Post and Base Processing and AssemblyLearning Target: I can process and assemble the base and post for a desk lamp, using a variety of hand tools, miter saw, table router, orbital sander, standard power drill, wood screw, wood glue, and impact drill.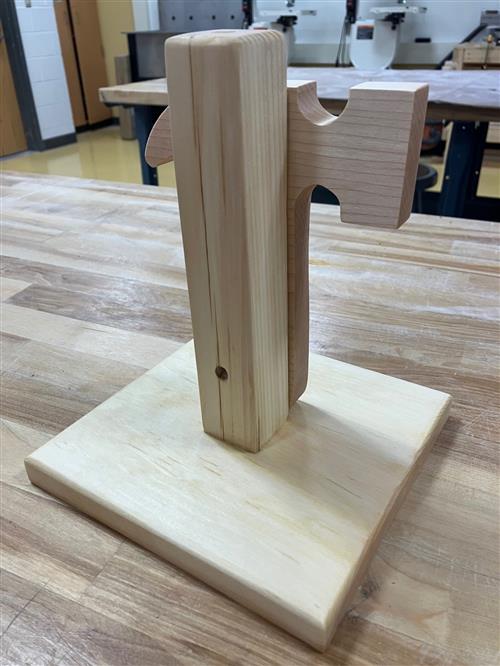
- Locate your base material from the wood supply: Pine
- Using a tape measure and pencil, mark a point 7-1/4" from the board's edge
- Using a speed square, project a line through the point, perpendicular to the boards edges
- Using the miter saw, cut the board to 7-1/4" in length
- Determine the top of the base - if your material is bowed, face the bow UP
- Using the router table and roundover bit, route the top edge only
- Using the orbital sander and 120 grit sand paper, sand the entire board - eliminate planer marks and wood burrs
- Using the orbital sander and 220 grit sand paper, sand the entire board - sand all to a smooth finish
- Locate your post material from the wood supply: Pine
- Using a tape measure and pencil, mark a point 8" from the board's edge
- Using a speed square, project a line through the point, perpendicular to the boards edges
- Using the miter saw, cut the board to 8" in length
- Using the router table and roundover bit, route the top edge only
- Locate the center of the bottom side of your base by aligning opposite corners with a straight-edge to determing the center
- Using a 1/16" diameter drill bit, drill a hole through the base
- Locate the center of the bottom side of your post by aligning opposite corners with a straight-edge to determing the center
- Using a 1/16" diameter drill bit, drill a hole in the bottom of your post approximately 1/2" in depth
- Using a power drill and counter sink bit, counter sink the hole to fit the head of a small screw, on the bottom side of your base only
- Using an impact driver, 1-5/8" wood screw, and wood glue, assemble the base to the post.
- Locate the center of the top side of your post by aligning opposite corners with a straight-edge to determing the center
- Using a wood awl, punch the center of the post
- Using a power drill and 3/8" diameter drill bit, drill a plumb hole through the top of your post 6" in depth
- Using a power drill and 5/16 diameter drill bit, drill a hole in the back side of your post, so that the hole meets the hole drilled through the top side of your post
- Using 120 and/or 220 grit sandpaper, sand off the wood burrs created from the drills at the hole openings, to a smooth finish.
16. Desk Lamp - Graphic Processing and AssemblyLearning Target: I can process and assemble a wooden graphic to my lamp post and base, using a variety of hand tools, band saw, orbital sander, and other necessary hand and power tools, to prepare for a beautiful finish.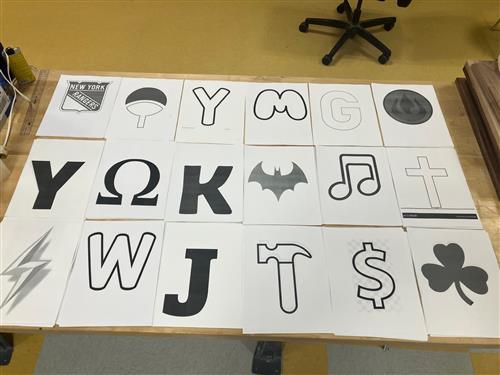
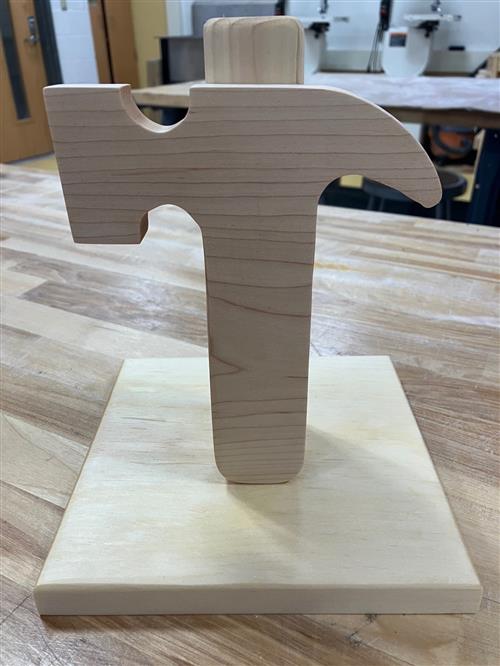
- Choose your graphic from the variety available
- Using scissors, cut out your graphic from the excess paper
- Using spray adhesive, spray glue on the back side of your graphic and stick your graphic to your wood blank
- Using the band saw, cut out the graphic **get close to your graphic line, but do not cut past the line**
- Using the belt/disk sander, oscillating spindle sander, sanding block, and files, etc., sand your outside and inside edges smoothly **get close to your graphic line, but do not cut past the line**
- Using the orbital sander and 120 grit sand paper, sand the entire board - eliminate the paper graphic, spray adhesive, planer marks, and wood burrs
- Using the orbital sander and 220 grit sand paper, sand the entire board - sand all to a smooth finish
- Using wood glue and clamps, glue your graphic to the front of your post and base - wipe off all excess wet glue
- Once the glue dries, remove the clamps, inspect the project and sand off any excess glue - your finish will not absorb where there is glue residue
18. Desk Lamp - Wood FinishingLearning Target: I can choose a wood finish and apply several coats of it to my wood project for a beautiful finish.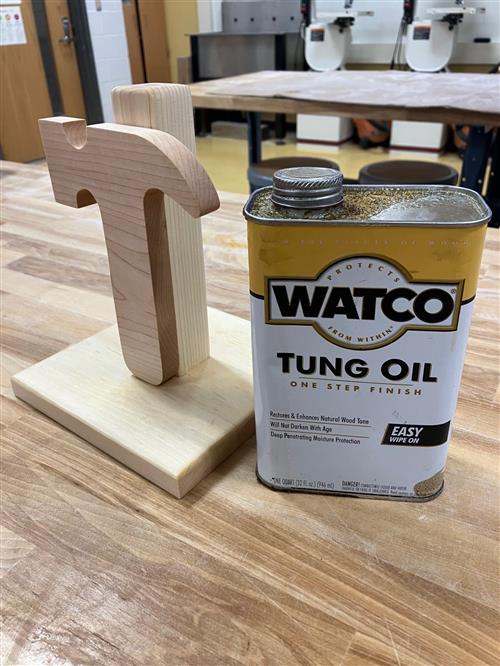
- Using a rag, choice of finish, and gloves, apply the finish to entire lamp - place lamp on "sticks" to dry **2-3 coats**
- **Optional** - using a brush and gloves, apply polyurethane to the entire lamp - place lamp on "sticks" to dry **2 coats**
19. Desk Lamp - Electrical Wiring and InspectionLearning Target: I can assemble and install the electrical components for my desk lamp, and successfully pass the electrical inspection from my instructor.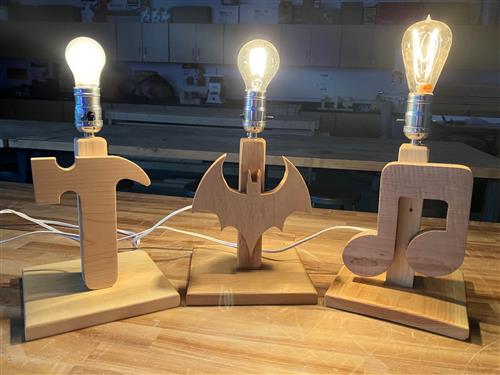
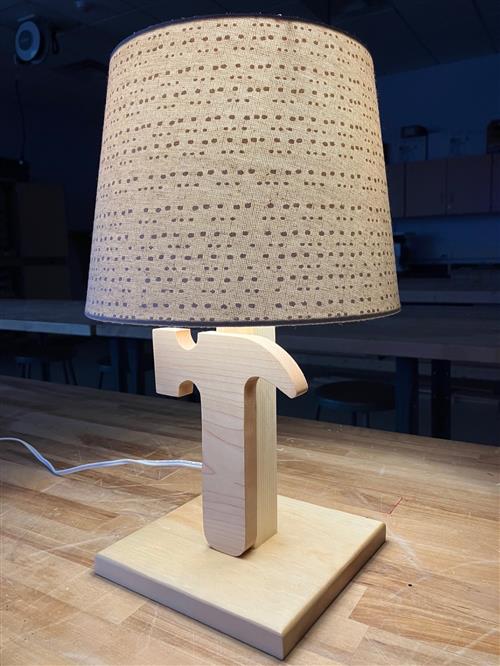
- Locate your materials: Lamp Holder, threaded rod with nut, and 6ft lamp cord
- Start by pushing the lead-end of the cord up the bottom hole, until it pops out of the top of the lamp post
- Using a screw driver, loosen the set screw on the lamp holder and thread the threaded rod into the neck of the lamp holder until you cannot thread in any more
- Tighten the nut on the threaded end hand-tight to the bottom of the lamp holder
- Feed the wire through the bottom end of the threaded rod to that sticking out of the top of the lamp holder
- Using a screw driver, loosen the terminal screws on the lamp holder
- Using wire strippers, J-hook the copper ends of the lamp wire
- Hook the HOT wire (wire with writing on the cord, to the BRASS screw in the CLOCKWISE direction - tighten that screw)
- Hook the NEUTRAL wire (wire without writing on the cord, to the SILVER screw in the CLOCKWISE direction - tighten the screw)
- ***HAVE MR. POLISZUK INSPECT YOUR ELECTRICAL CONNECTIONS***
- Press-fit and assemble the lamp holder together and be sure to have a tight connection
- Thread in a light bulb to test the system - once you know it works, put on a lampshade, take it home, and enjoy!!
20. How to Purchase a HouseLearning Target: I can draw and illustrate what each step of the House Purchasing Process looks like, and summarize the process used in order to purchase a home.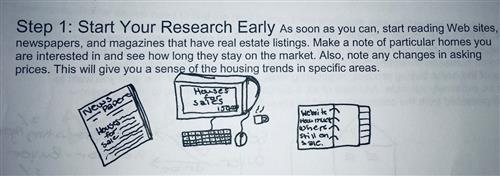
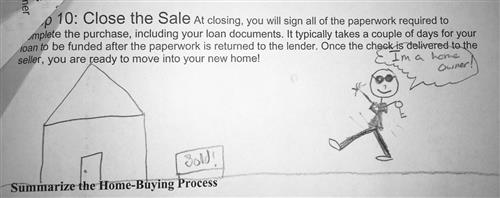 21. How to Calculate Your Mortgage PaymentLearning Target: I can calculate and compare the differences between a 30-Year Mortgage and a 15-Year Mortgage, using information from a home currently for sale on the MLS and choose which mortgage would be most beneficial for myself and my potential family.
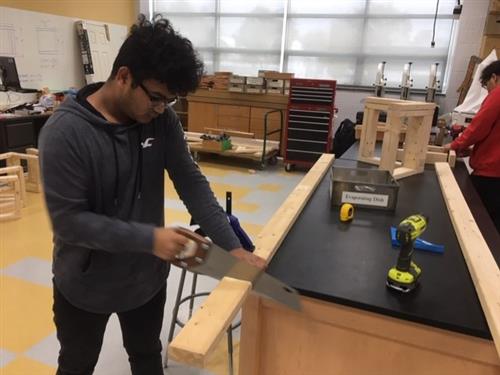
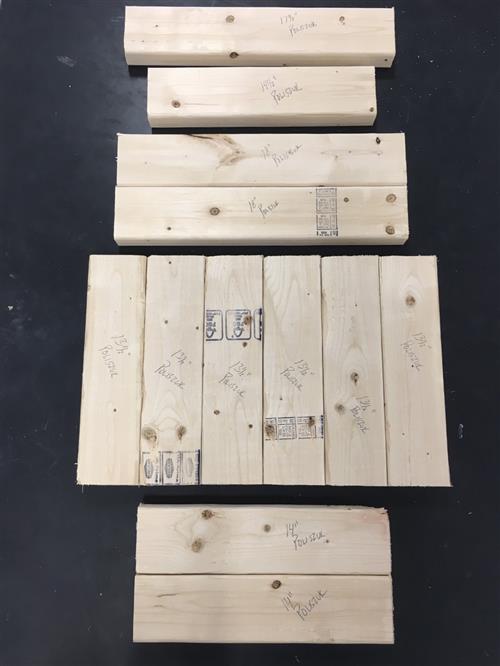
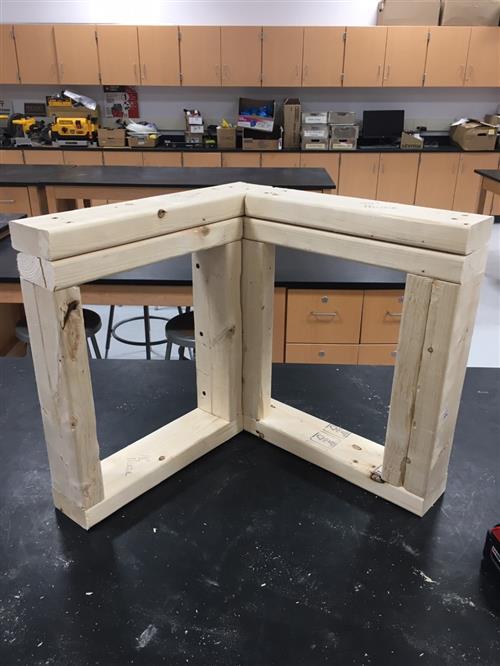
 New TermsPrincipal - The money borrowed from the bank (lender), which has to be paid back.Interest - The money the bank charges you for lending you the money.Propety Taxes - The money paid to the local government for schools and county services - based on value of the property.Home Insurance - Insurance that covers losses and damages to an individual's house (fire, wind damage, etc) and assets in the home (damage, theft, etc).22. Wall Framing - Cutting framing members to lengthLearning Target: I can measure and cut framing members to length, using a tape measure, square, and hand saw.2x4 Framing Materials ListStuds: 13 1/2" (5)Top and bottom plates for Wall 1: 14" (2)Top and bottom plates for Wall 2: 18" (2)Tie plate 1: 17 1/2" (1)Tie plate 2: 14 1/2" (1)Drywall backer: 13 1/2" (1)
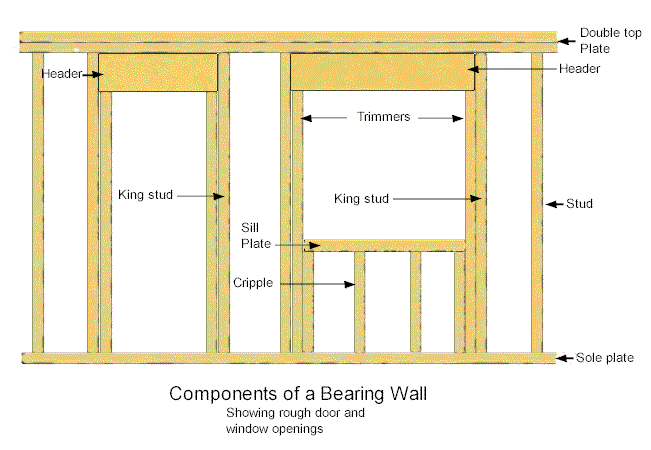 23. Wall Framing - Assembling wall members and tying walls togetherLearning Target: I can assemble framing members together according to the building plans, using screws, a square, and an impact driver.
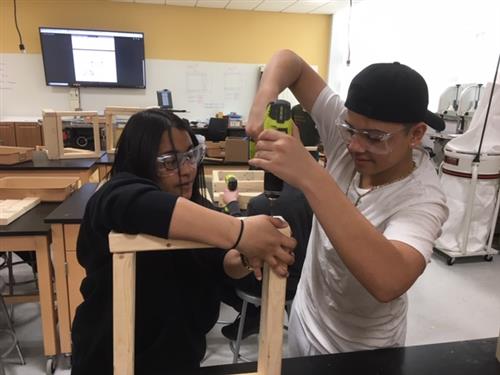
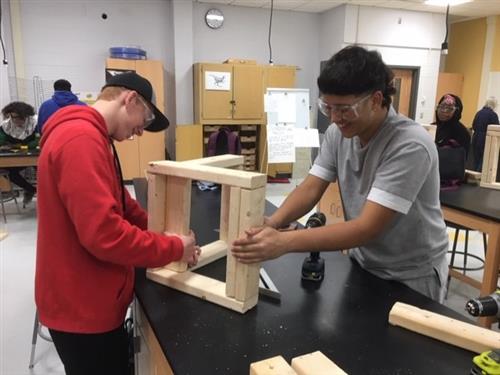
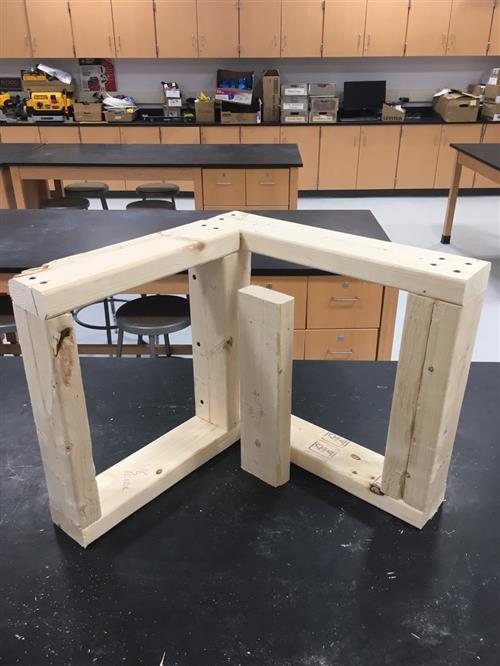
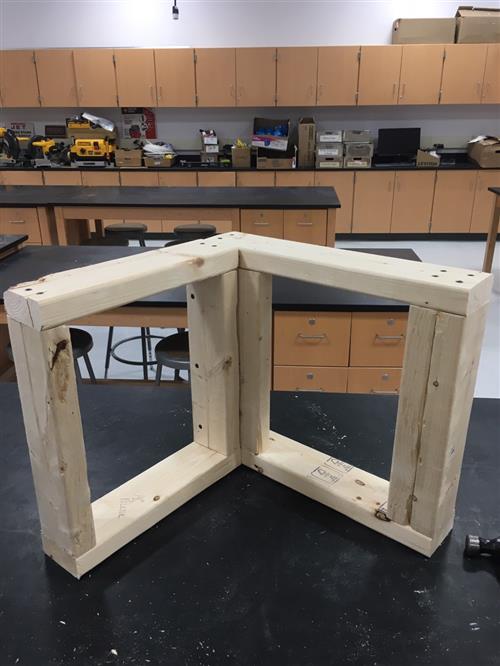
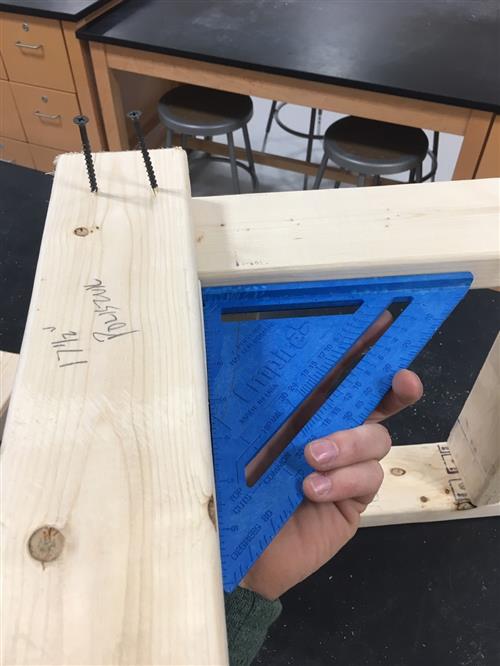
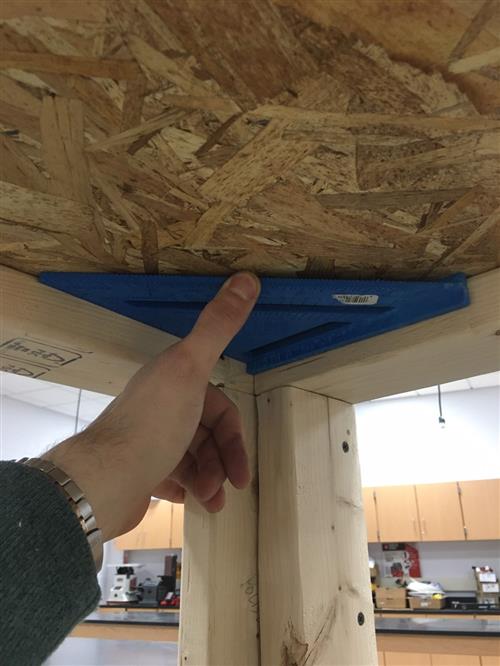
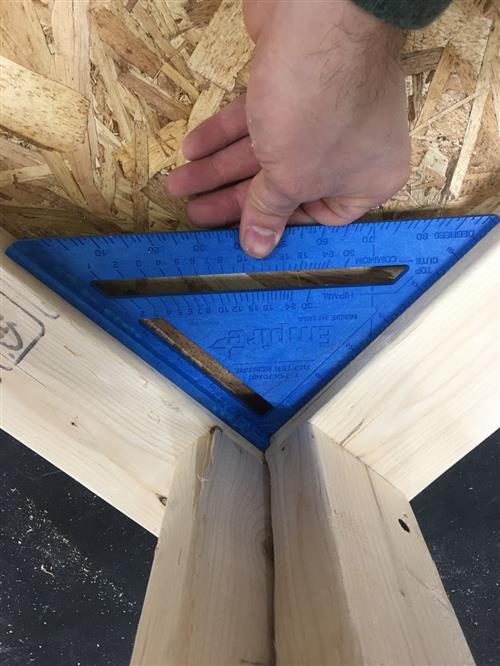
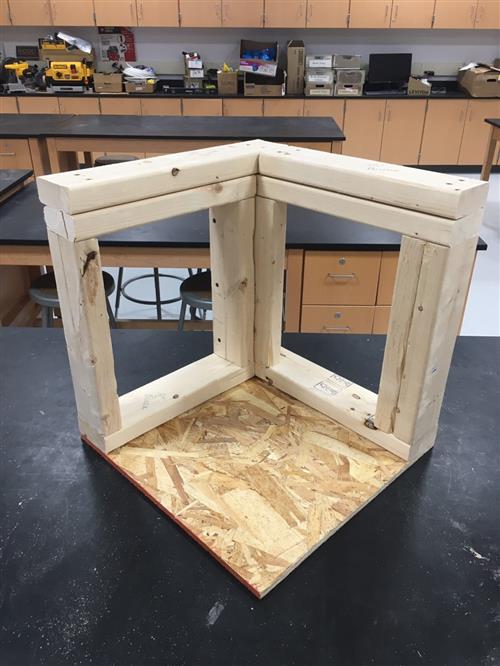
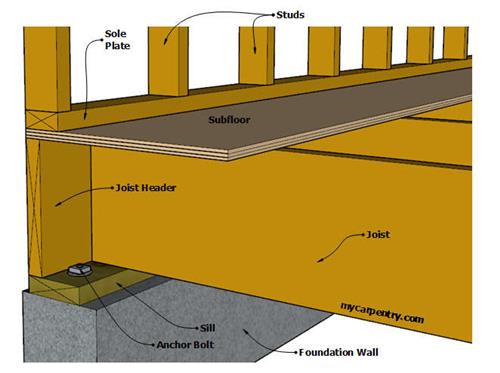
 15. Subfloor - Cutting subfloor to length and assembly to wallsLearning Target: I can measure, cut, and assemble subfloor material to my wall section, using a hand saw, screws, square, and an impact driver.Subfloor Dimensions: 18" x 17 1/2"
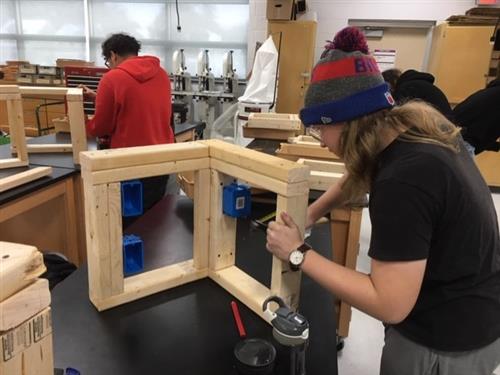
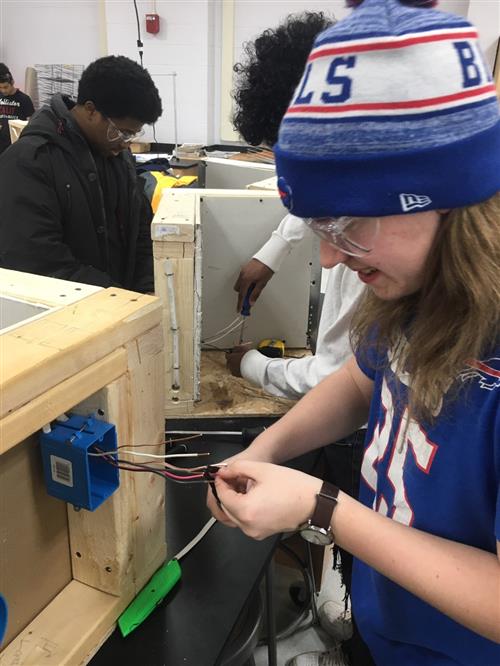
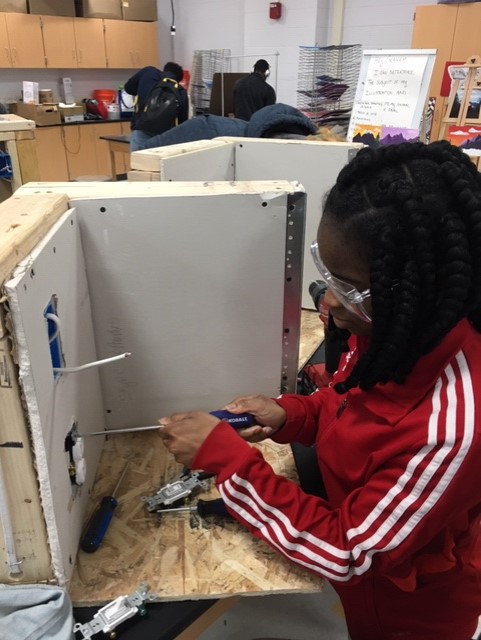
 16. Electrical - Electrical box installation and rough-in electricLearning Target: I can install electrical boxes and rough-in wiring according to building plans, using a tape measure, hammer, wire strippers, and a power drill.
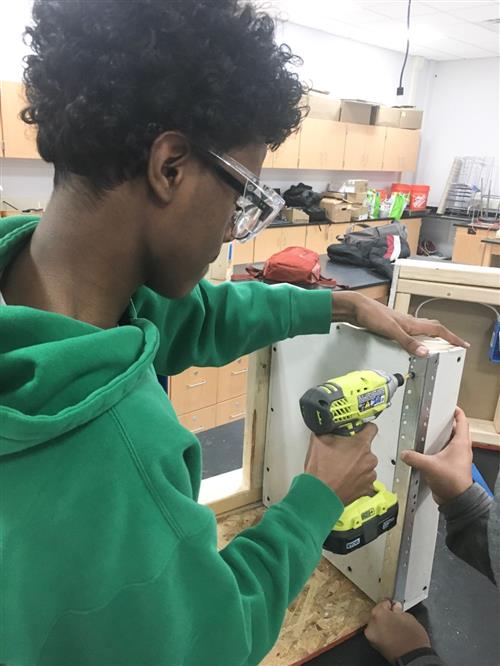
 19. Drywall - Cutting and HangingLearning Target: I can measure, cut, and hang drywall and install corner bead to my wall section, using a utility knife, tin snips, screws and a power drill.
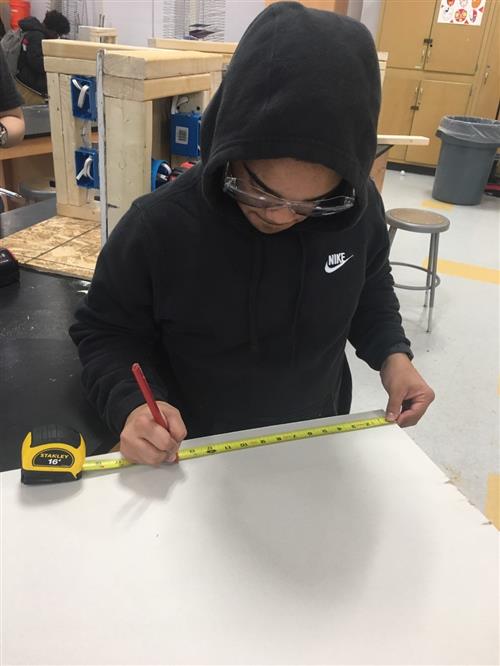
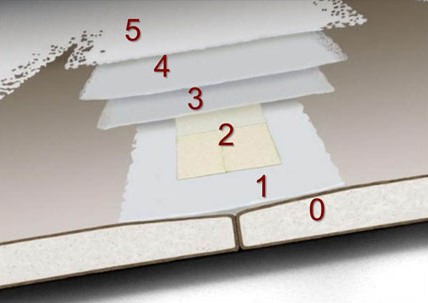
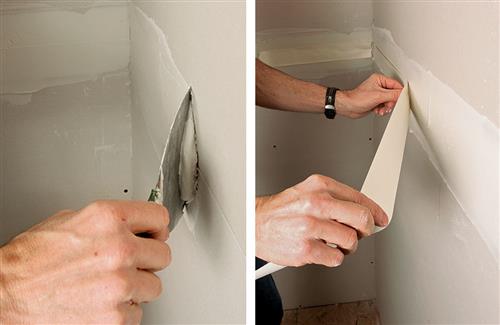
 20. Drywall - FinishingLearning Target: I can finish drywall, including an inside corner and outside corner to my wall section, using a drywall knife, a mud pan or aluminum hawk, joint compound, tape, and a sanding block.
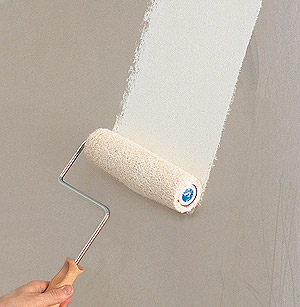
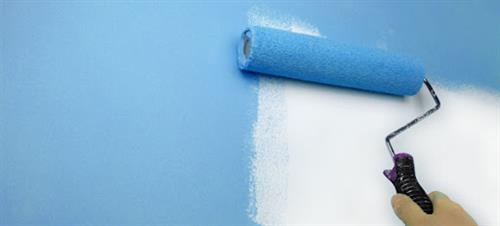
 21. Priming and PaintingLearning Target: I can sand joint compound to a smooth and tapered finish and apply primer and paint to my wall section for a professional and complete finish to my walls.
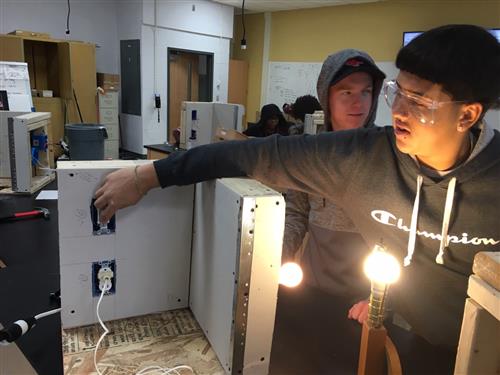
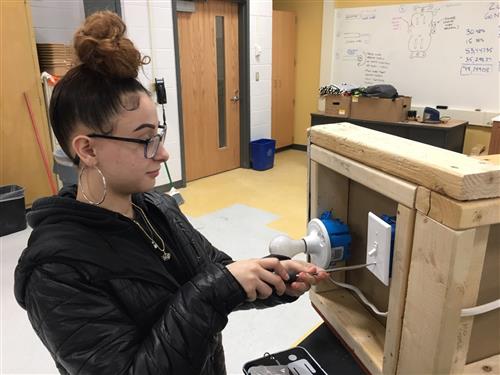
 22. Electrical - Finish Electric - Wiring in outlet, switches, and lamp holderLearning Target: I can properly strip electrical cable jacket and wire insulation, then install an outlet, three-way switches, and a lamp holder, according to the circuit diagram, using a utility knife, wire strippers, lineman's pliers, and a screwdriver.
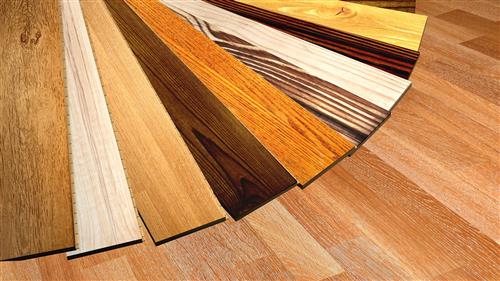
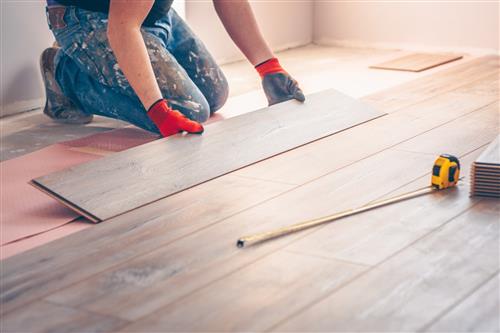
 23. FlooringLearning Target: I can install finish flooring to the subfloor of my wall section for a professional and complete finish to my floors.
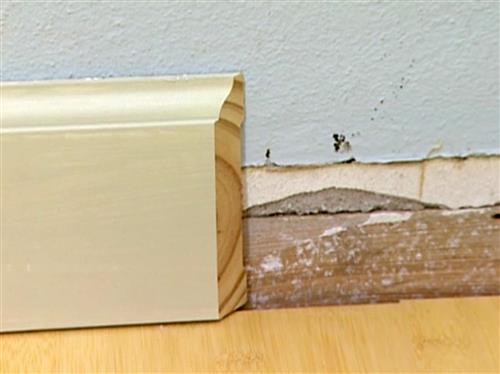
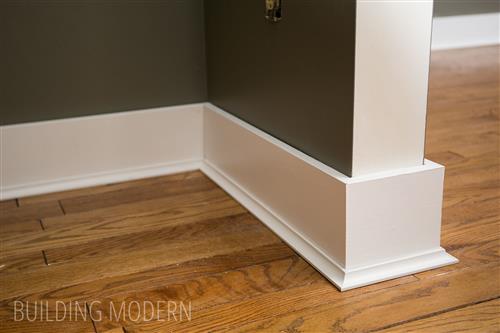
 24. Baseboard Trim and Finish MoldingLearning Target: I can cut and fasten baseboard trim to the base of the finish drywall, including an inside corner and outside corner to my wall section, using a tape measure, miter saw, and brad nailer.
 25. Disassemble Wall Section and Recycle for ReuseLearning Target: I can disassemble my wall section and organize building materials and fasteners for future use, using a pry bar, power drill, and other necessary hand tools.
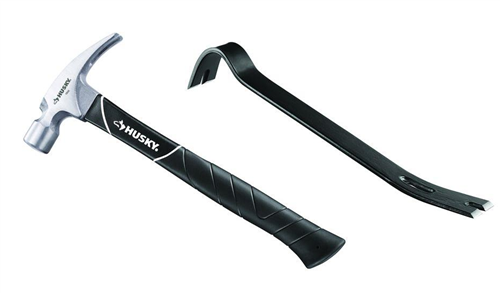
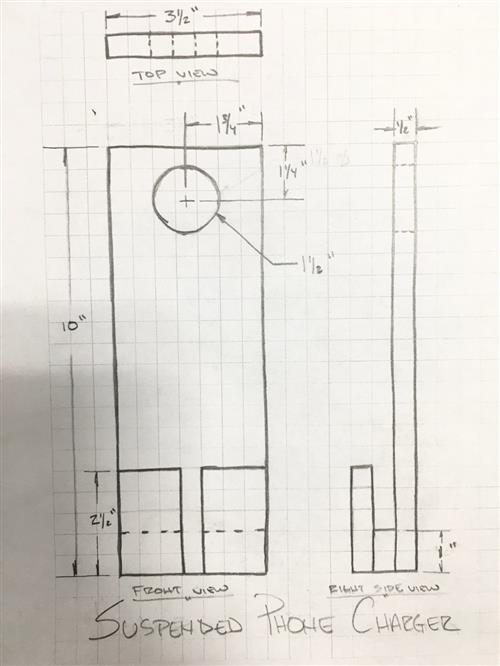
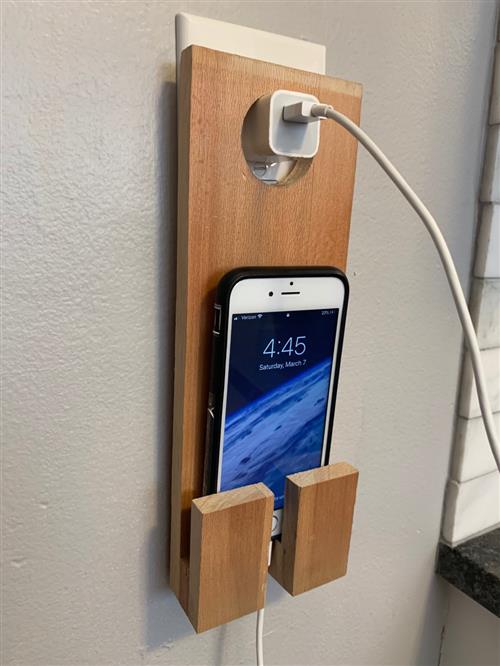
 26. Wall Framing27. Large and Small Hole Repair28. Design and Drawing for ProductionLearning Target: I can research, design, and draw a product with dimensions, which can be produced in class, using grid paper and a pencil.29. Phone Charging RackLearning Target: I can process and assemble a product according to engineering plans, using a hole saw, power drill, multitool, wood glue, and clamps.
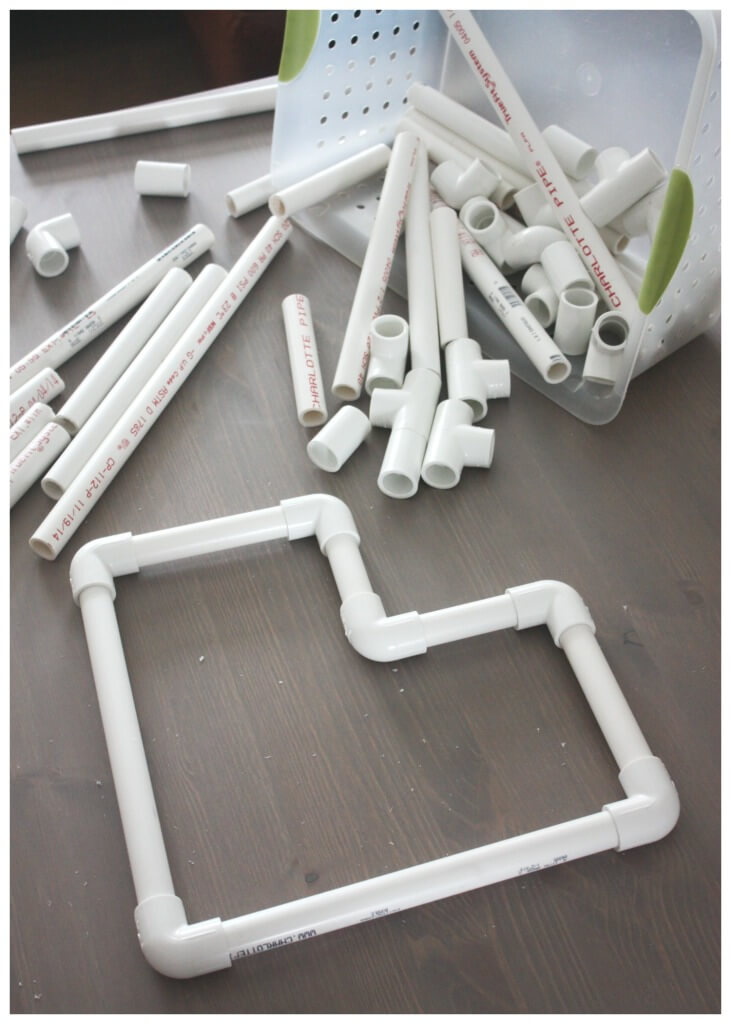
 At a later time... PVC PlumbingLearning Target: I can measure, cut, clean, and adhere and assemble a PVC plumbing loop.
Select a School...
Select a School
- PreKindergarten & Early Childhood
- George Mather Forbes School No. 4
- John Williams School No. 5
- OACES Office of Adult & Career Education Services
- Virgil I. Grissom School No. 7
- Roberto Clemente School No. 8
- Dr. Martin Luther King Jr. School No. 9
- Anna Murray Douglass Academy School No. 12
- RECEC NE
- The Children's School of Rochester No. 15
- Dr. David & Ruth Anderson Academy No. 16
- Enrico Fermi School No. 17
- Dr. Charles T. Lunsford School No. 19
- Abraham Lincoln School No. 22
- Francis Parker School No. 23
- Nathaniel Hawthorne School No. 25
- Henry Hudson School No. 28
- Dr. Iris J. Banister School No. 33
- Ida B. Wells-Barnett Elementary School
- Pinnacle School No. 35
- Abelard Reynolds School No. 42
- Mary McLeod Bethune School No. 45
- Austin Steward Elementary School No. 46
- Helen Barrett Montgomery School No. 50
- Frank Fowler Dow School No. 52
- Montessori Academy School No. 53
- The Flower City School No. 54
- World of Inquiry School No. 58
- All City High
- Early College International High School
- East Upper & Lower Schools
- Edison Career and Technology High School
- Padilla High School at the Franklin Campus
- James Monroe High School
- Joseph C. Wilson Magnet High School
- Northwest Middle School at Douglass Campus
- Rochester International Academy
- School of the Arts
- School Without Walls Commencement Academy
- Home / Hospital Instruction
- Youth and Justice Programs
- Department of Bilingual Education & World Languages
- Special Education
- IM&T
- School Library System
- Student Support Services
- Virtual Academy of Rochester
- Summer Learning
- Dr. Freddie Thomas Middle School
- Andrew Langston Middle School
- Loretta Johnson Middle School
- Thurgood Marshall Middle School
- Florence S. Brown PreK Center at School No. 33

